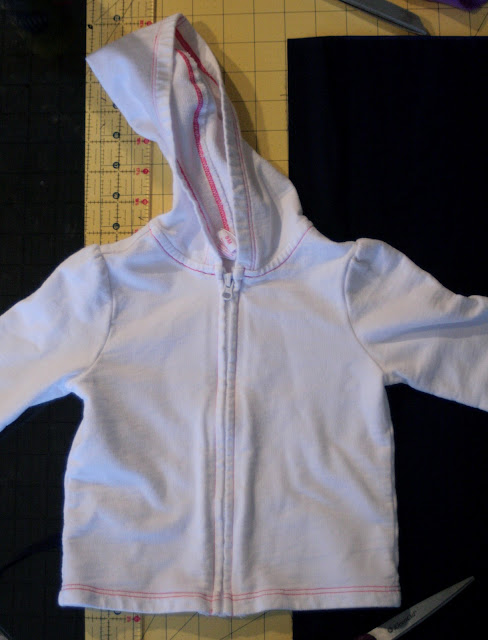
last week i was looking for a valentine shirt for lil' miss and i didn't find anything that was what i had in mind. so i decided to make something for her. {trying to get my spunk back and all....}
i started with a plain white hoodie that lil' miss had in her closet. a tad tight on her full belly, but it would work nonetheless.
i folded a piece of cardstock in half and cut a heart out to fit on the hoodie. cut it in half just to make sure it would fit on both sides.
then i cut 2 inch strips of fabric. i think i ended up with five, but i didn't even need that many.
i just used scrap pieces of fabric that i had in my stash.
no money was spent on this project.
i sewed the strips, one by one, together long ways. right sides together. and then pressed them out straight.
a while back i found a great tutorial on applique. i can't remember where i saw it, but it started with this stuff. "Steam a Steam Lite". I got it at Joann a year ago for 3 dollars and i'm still working my way through the package.
the directions are pretty clear on the front, but basically you trace the design on one side of the applique paper. {that's a technical term by the way - NOT REALLY!}
and then you cut around it, stick onto the wrong side of the fabric and cut it out together.
usually it sticks {temporarily} to the wrong side of the fabric pretty good, but in this case, since there were seams, i had to get the back of the fabric strips nice and hot with an iron to get it to stick prior to cutting the pieces out.
then i ironed the heart pieces onto the hoodie and top stitched it on.
but that wasn't enough.
i cut three more 2" strips of fabric and sewed them together to make one really long strip.
then i zig zag stiched the end. {see my settings above}. there's nothing technical about how i sew. it's trial and error, so this is what worked for me on my machine.
you keep it on the very edge of the fabric and the zig zag sort of pulls in the edge over itself, creating and interesting 'hem'. it wears cool as well. it kind of frays without completely fraying if that makes sense. i like it.
if that's not your style, you could always do a regular hem as well.
then i folded the raw edge in and pressed. this is going to be what i sew to the bottom of the hoodie.
my machine ruffles on it's own very well. i set the tension high and the stitch long and ruffles the fabric up great. no pulling necessary.
i still had ruffle left after doing the bottom so i did the sleeves too. pinning it right underneat the hem of the original hoodie. i pulled out the basting stitch that was used to make the ruffle after everything was sewn together.
i'm not going to lie, the sleeve wasn't easy to maneuver on the machine.
but it was worth it. maybe one day i'll get lil' miss to hold still enough in daylight to take a pic of her in her new v-day outfit! she sure looks cute in it!


Impressive!
ReplyDeletedying from cuteness. totally inspired. thank you for the idea!! xoxo, s
ReplyDeleteAdorable!!!!!
ReplyDelete